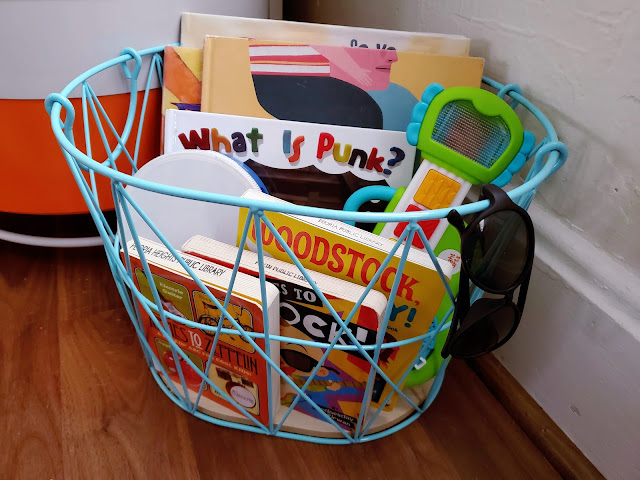
As for the activity, I think with any musical-themed basket the answer is obvious. Let them listen to music, or let them make music!
As for the activity, I think with any musical-themed basket the answer is obvious. Let them listen to music, or let them make music!
Download the .PDF template here!
The books for this basket are some of the most beautifully illustrated ones I've shared. The colors are always deep and rich, as they should be. A lot of these books share the theme of seeking, and a journey with families, which I find comforting.
A Search for the Northern Lights by Elizabeth Rusch and Izzi Ruch, illustrated by Cedar Lee
Supplies:
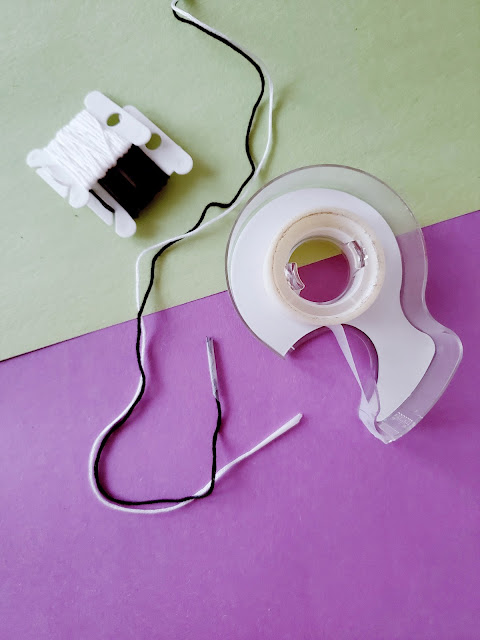
Step One: Prep your string. Always cut more than you need because you can trim it off easily. For this craft, you will only need 2 strings. I would cut at least 2 feet of each. Tie your knot at least 3 inches down so you have plenty of room to tie the knot when you put it on.
One more thing that's kinda finicky but well worth it: wrapping tape around the end of your string. This offers some stabilization that makes it much easier to bead with.
Before you start, make sure you have a surface to work on and your beads readily available. This project could go wrong very quickly, so try to set yourself up for the least amount of chaos possible!
Step Two: Start adding beads! You'll start with just one bead. Thread one side through one end and pull it out the other. Then thread your second thread through the hole your first thread just came out of. (So, if you follow the pictures, I put the black thread through one side, and put the white thread through the opposite side.) Congratulations! If you've successfully completed that step, you should be able to do the rest of the craft, no sweat.
Your next row of beads should be two beads across. Put your thread through both beads one way, then put your second thread through both beads the other way. The next row will have three beads, and then you will keep making three bead rows until you have the length of bracelet you want. Try to pull your strings as tight as possible after every row.
If you want to make the checkerboard pattern like I did, string on three beads with the b-w-b pattern, thread the other string through to complete the row, then string on another three with the w-b-w pattern, and complete that row. Continue this pattern until you are close to the length desired.
If you want to make a bracelet with a word in the middle, your pattern will be color bead, then letter bead in the middle, then color bead. I like to add a few rows of just color at the beginning and end.
Step Three: Finish it off! Once you have your bracelet the length you want you are going to add two more rows. The first will just be 2 beads, and the last will be 1 bead. Then pull your strings tight and tie a knot.
The cool thing about this craft is that if you elevated the materials a bit you could create an accessory that could be worn by an adult easily. Fancier beads (or not, I think straws could look cool) and a nicer cording... the idea is in there somewhere, I swear!
Happy beading! I can't wait to see what other people create!


